

Set up SalesPoint in Salesforce
Your SharePoint & Salesforce integration is almost ready, just one quick setup to go. This guide walks you through connecting your SharePoint site to your Salesforce org and adding the component to your Lightning pages.
Salesforce setup
Connect your SharePoint site to your Salesforce org.
- 1
Assign permission sets
Assign the right Permission Set(s) to your users. At minimum, assign SharePoint Admin Access to your own user so you can complete the next steps.

- 2
Open the SharePoint app
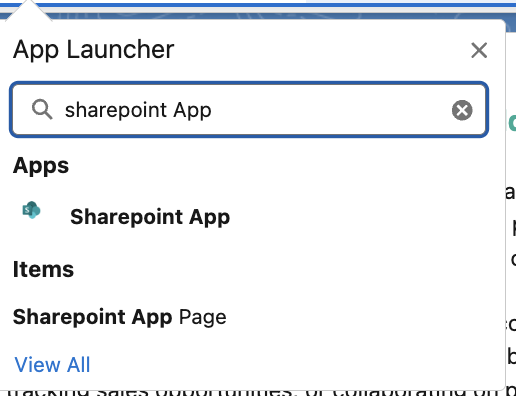
Go to the App Launcher and search for SharePoint App. Open it: by default it opens the app’s home page.
- 3
Start granting access
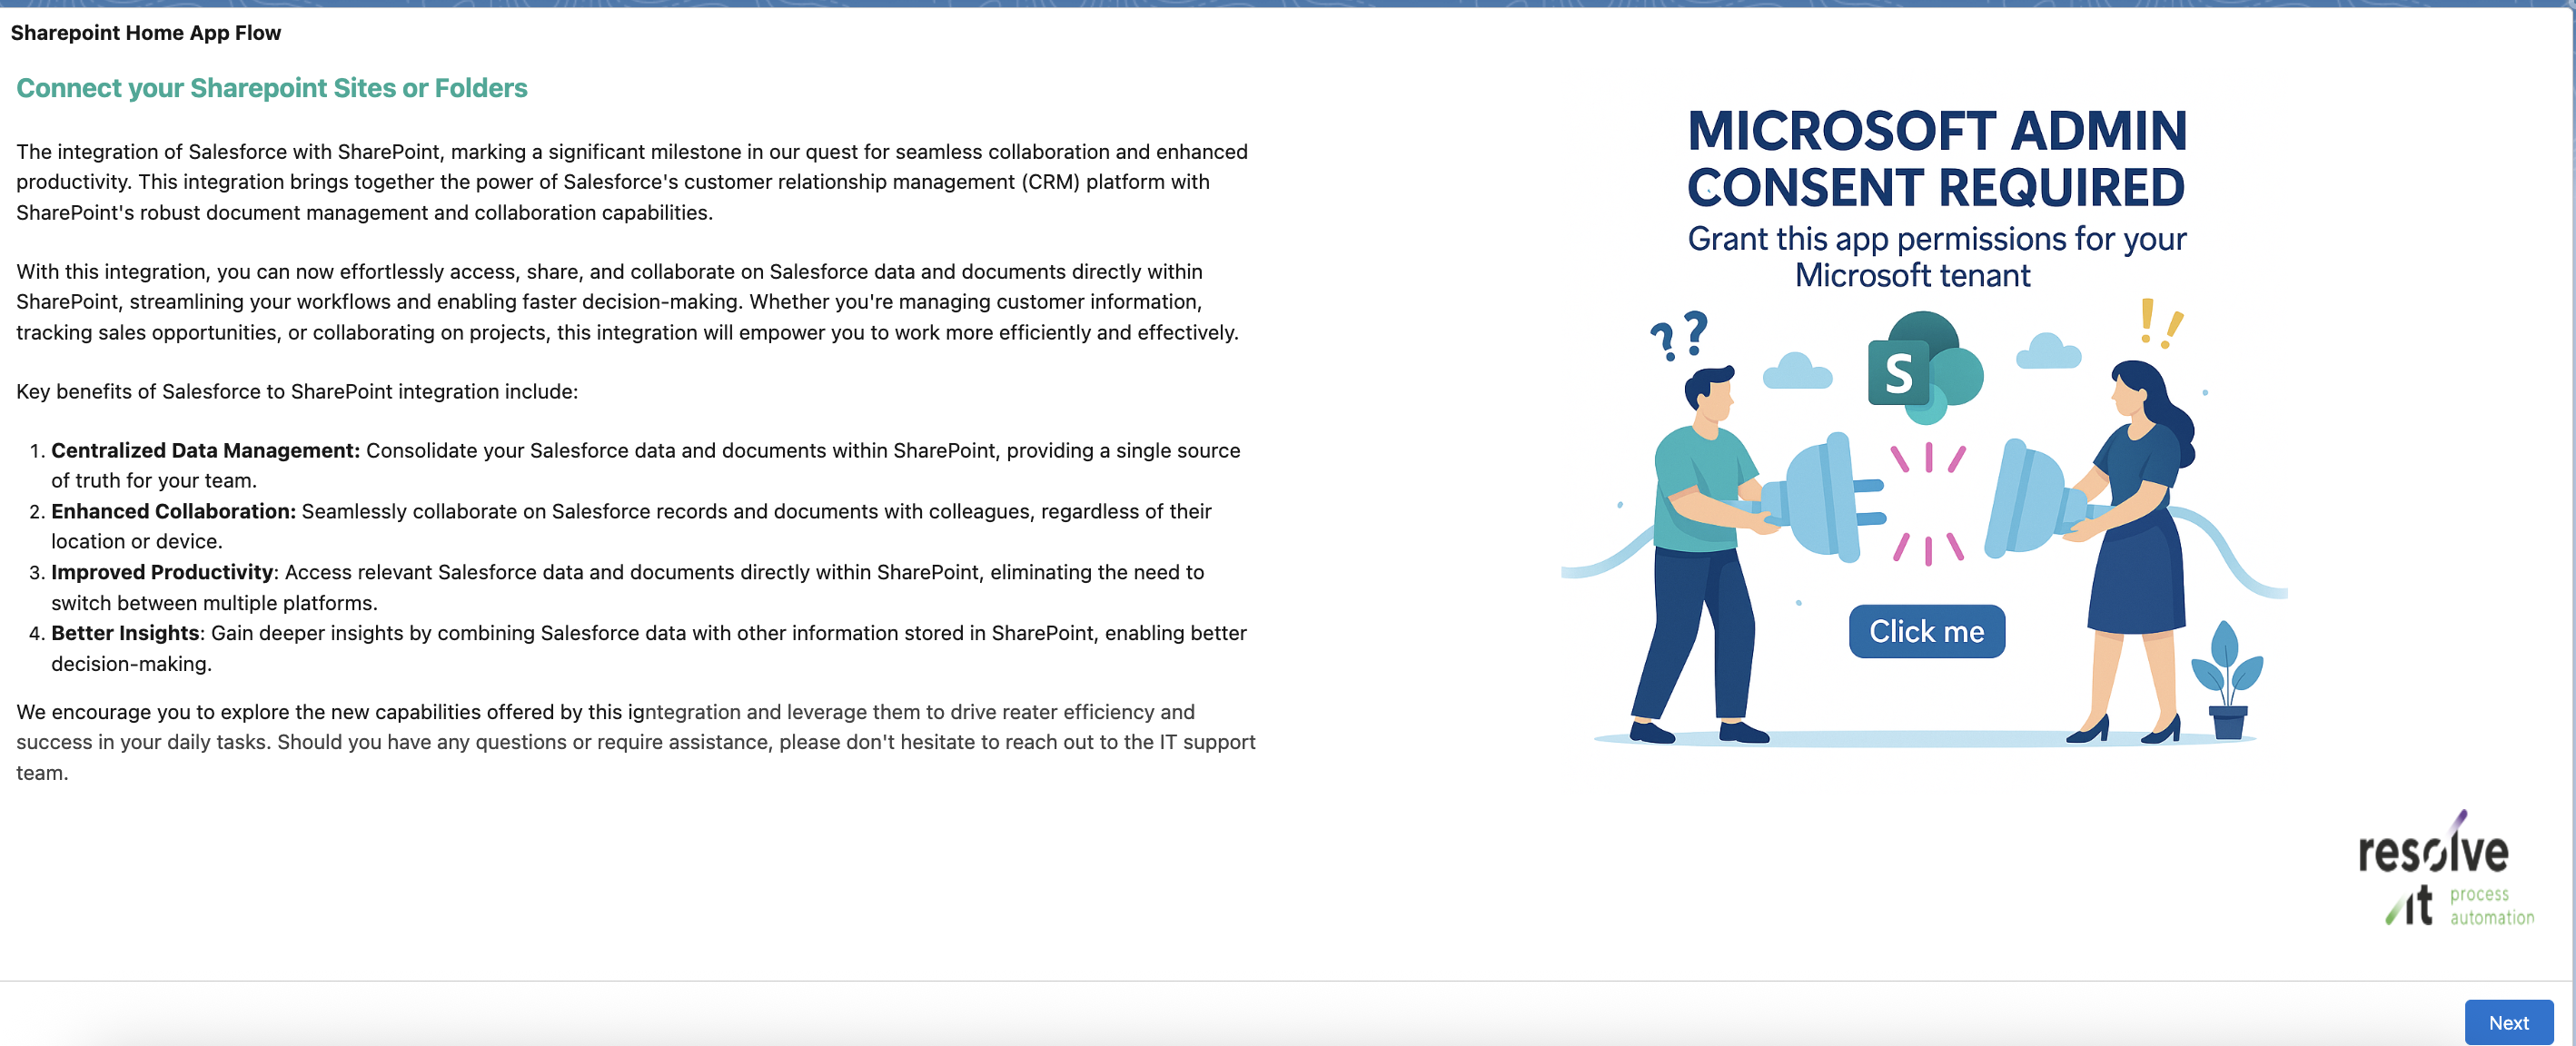
On the home page, click the “Click me” area on the right. A new tab opens so you can grant access to the SharePoint app.
- 4
Accept the permission request
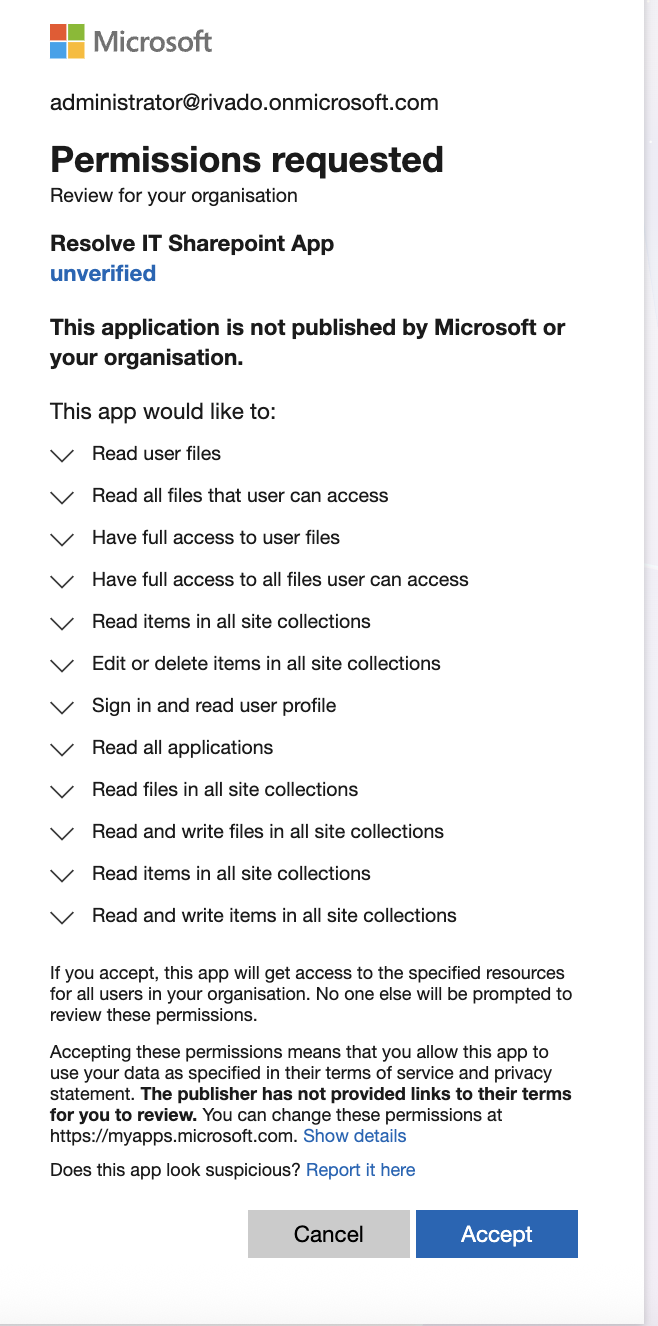
In the new tab, accept the app’s permission request. You’ll then be redirected to the Salesforce login page.
- 5
Use the right login URL
By default you’re redirected to
login.salesforce.com. If you installed the app in a Sandbox, replace it withtest.salesforce.com.
- 6
Log in & confirm
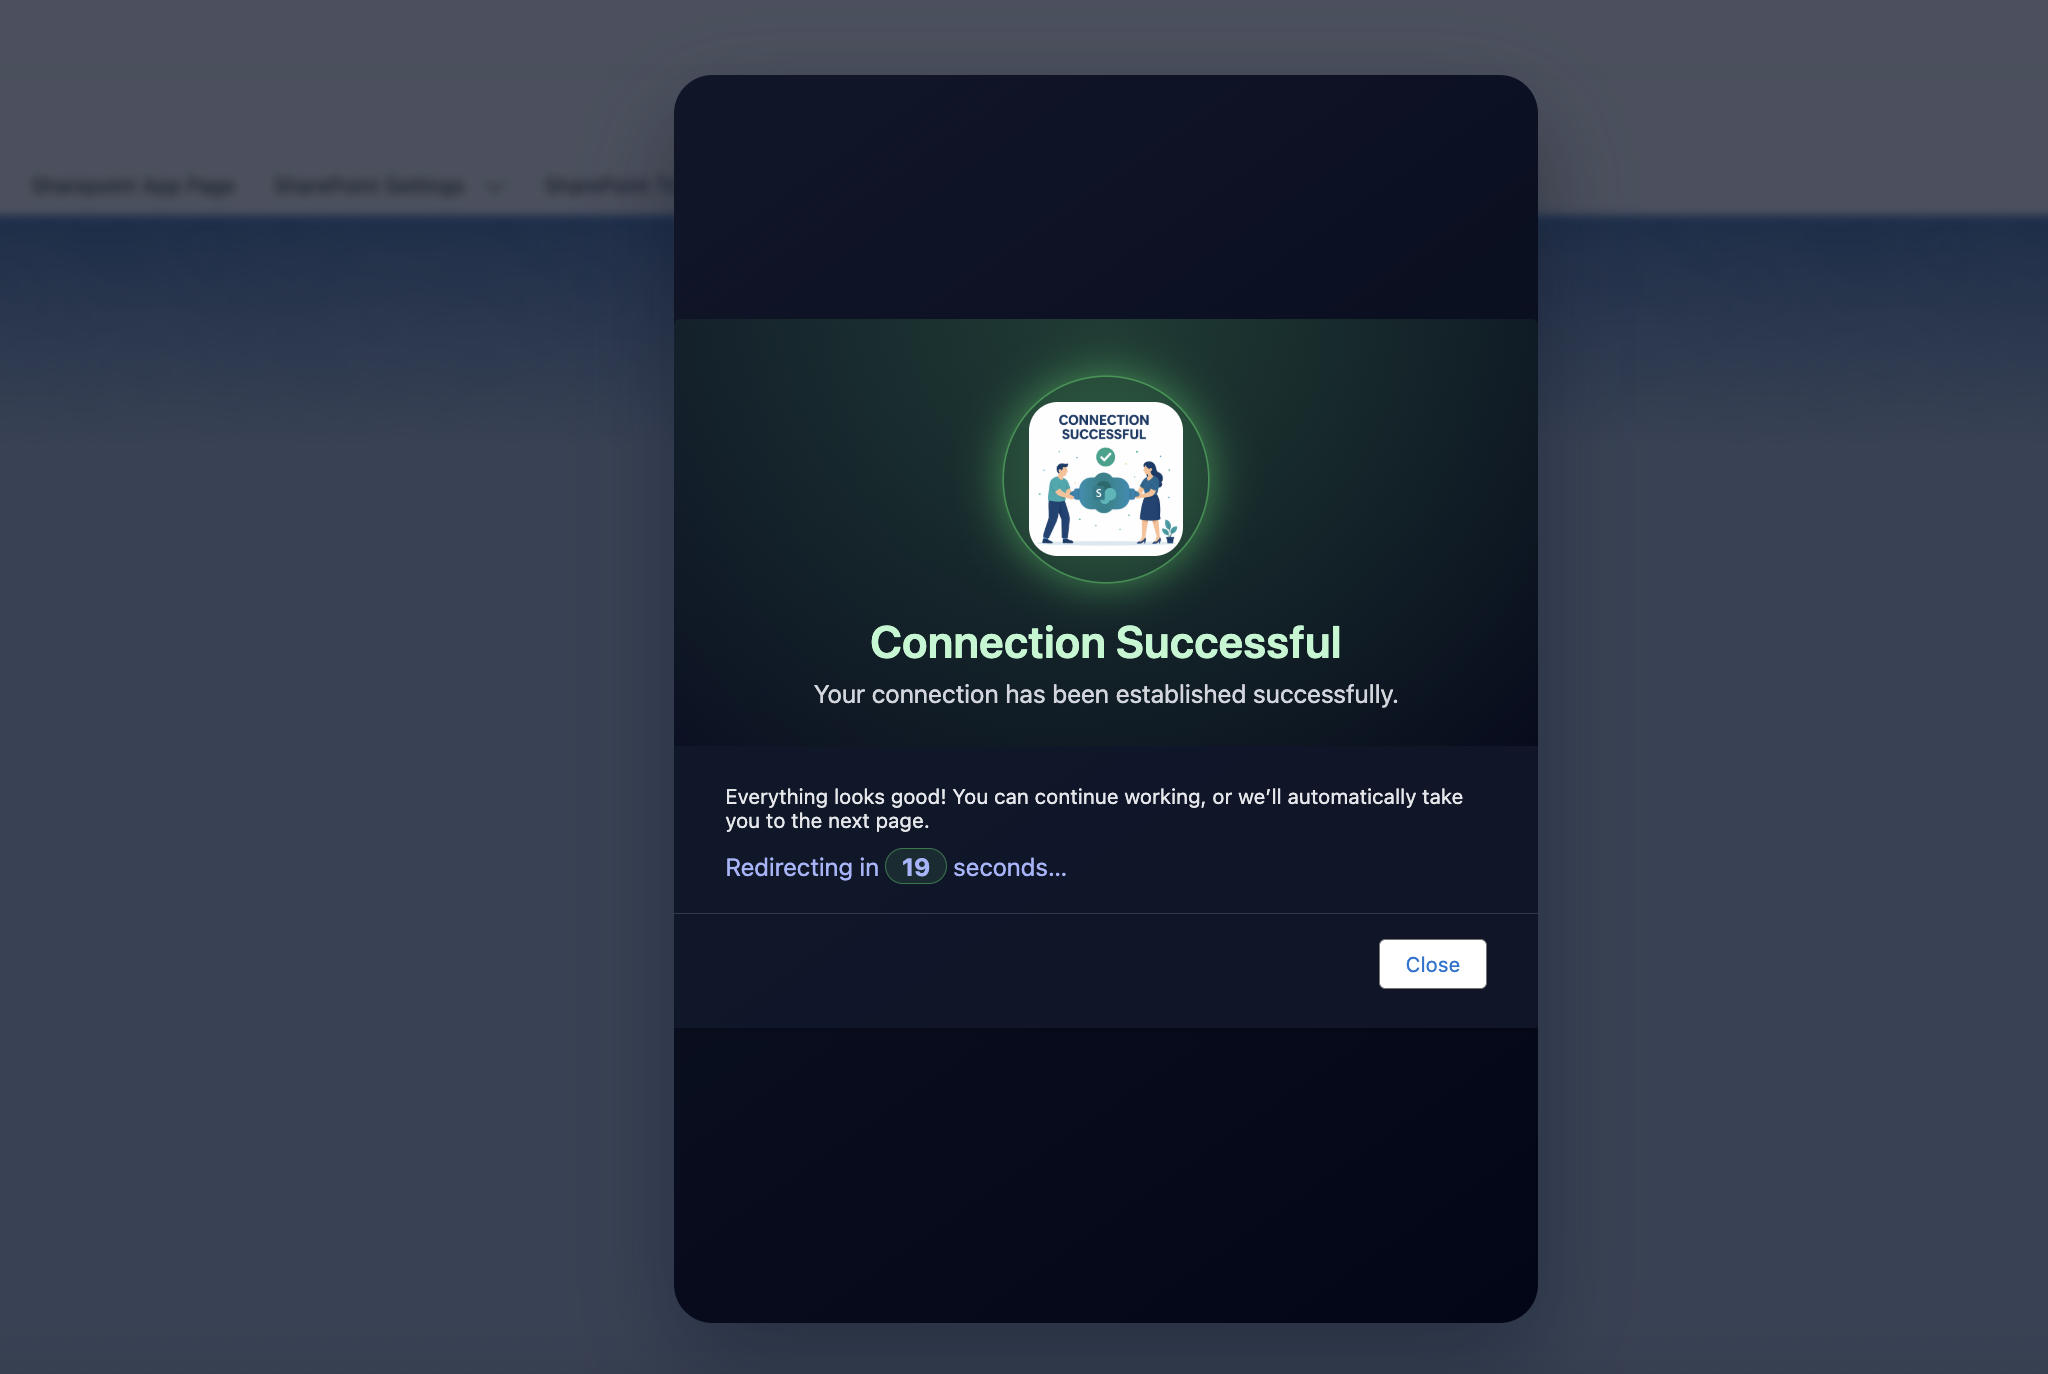
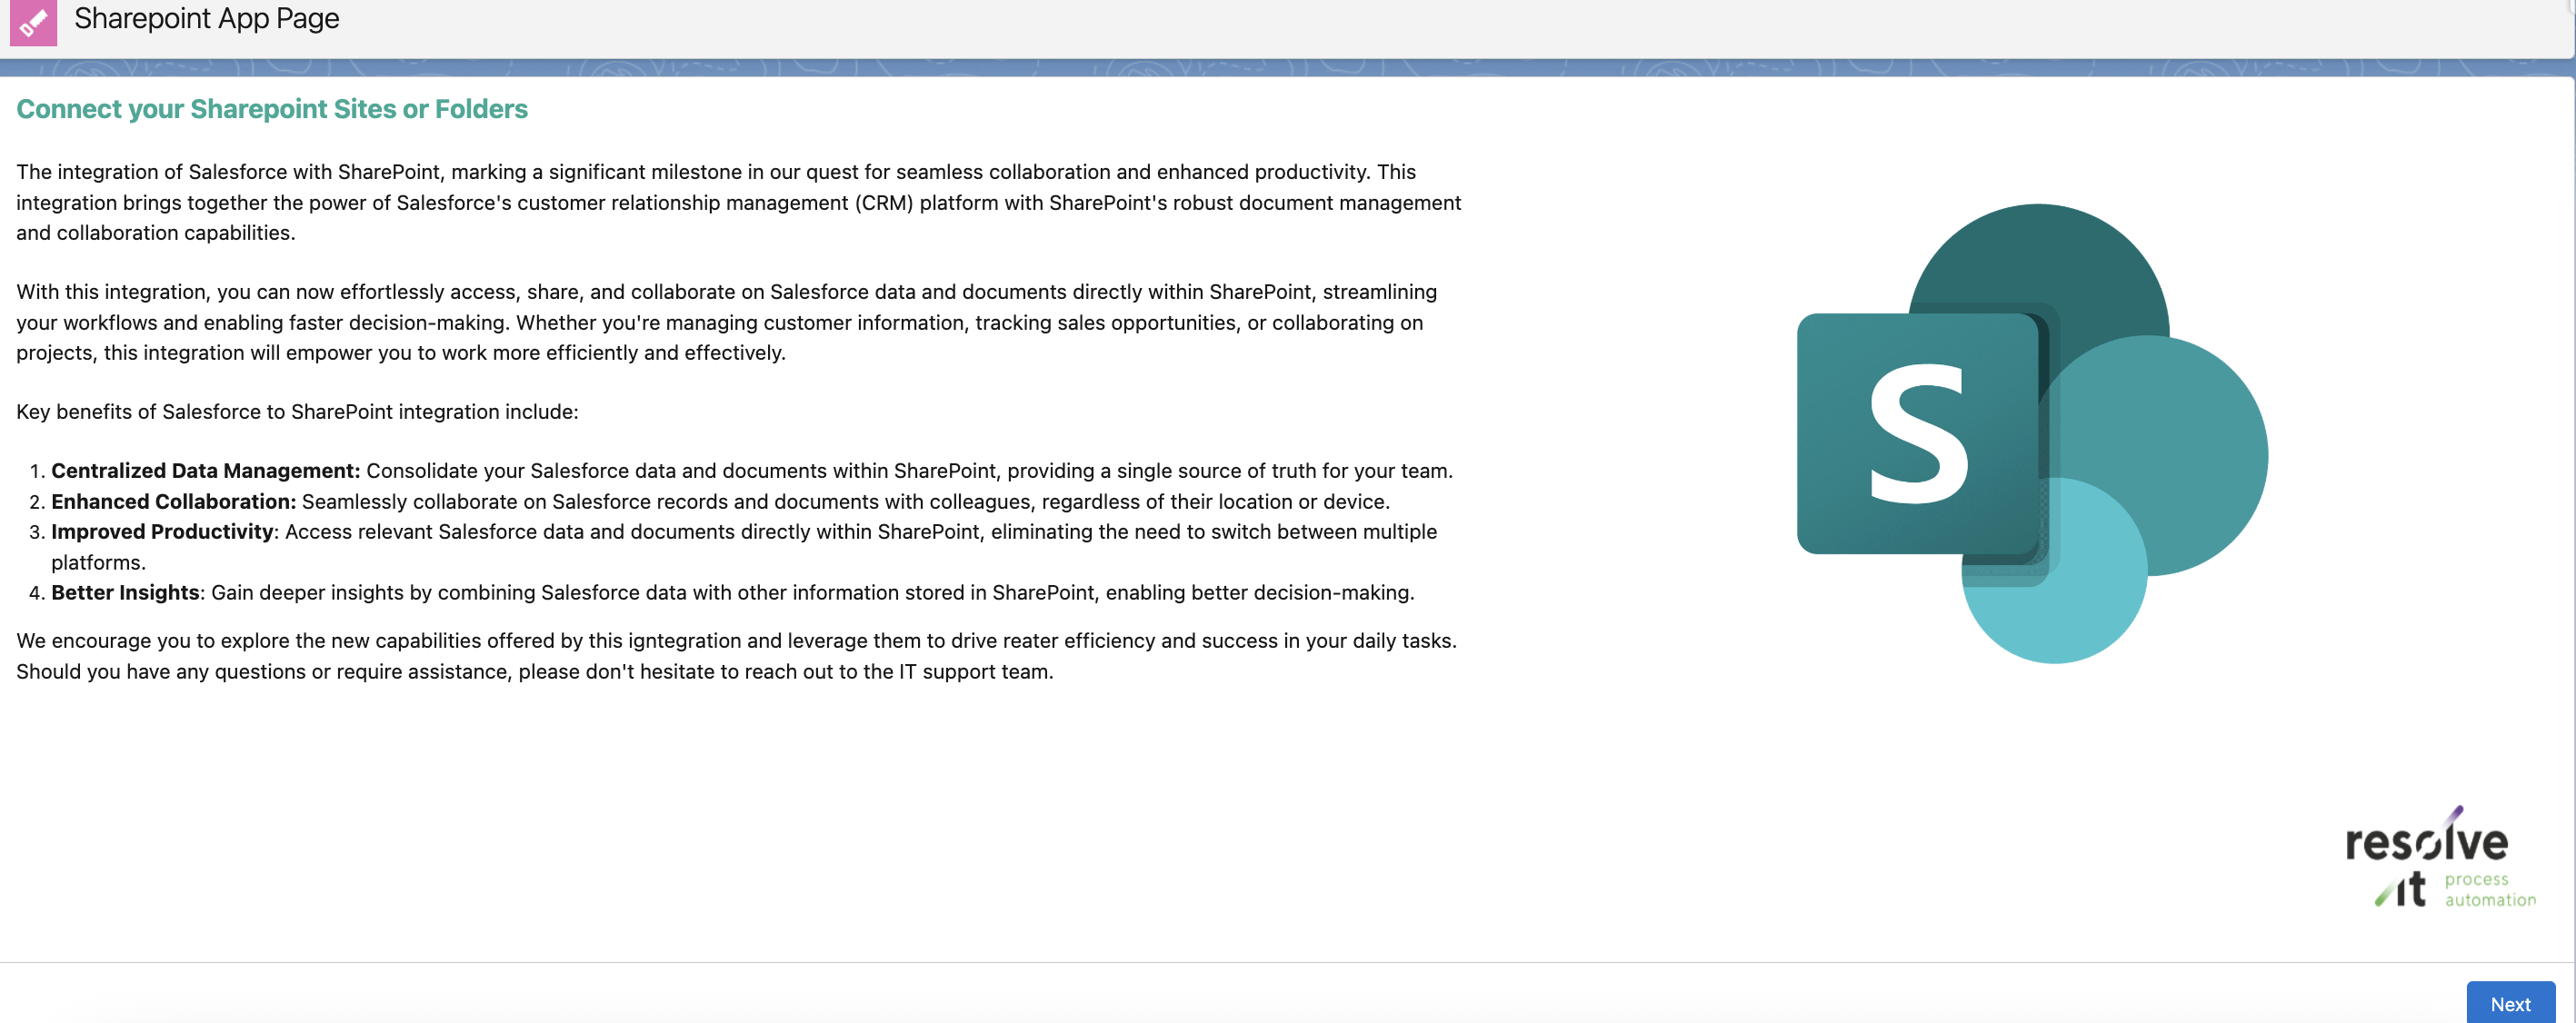
Log in with your Salesforce org. A “Connection successful” message pops up. Close it: you return to the app home page (now showing a different image). Click Next.
- 7
Create a new connection
Choose Create a new connection and give the connected SharePoint site a clear, generic name. Click Next.

- 8
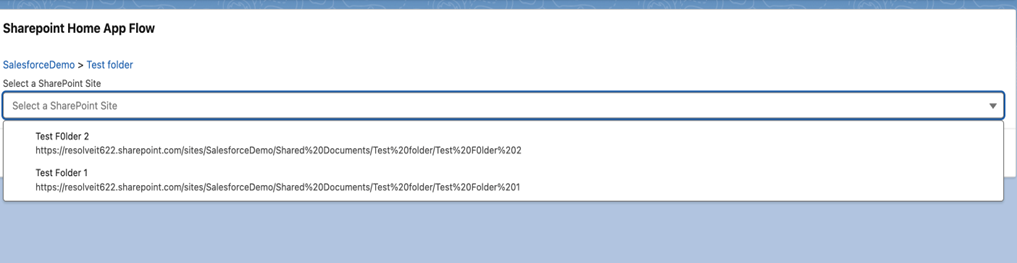
Choose the root folder
Select the Site ID (or a folder inside it) as the root folder where dynamic folders will be created (e.g. site “Salesforce Demo”, folder “Test Folder”). Click Next.
- 9
Set profiles, file types & delete rights
On the final screen, set three things: the profiles that may access the app, the accepted file formats (e.g. pdf, docx), and the users allowed to delete SharePoint files from within Salesforce.


Trusted URL configuration
Go to Setup → search Trusted URL → Trusted URL → New Trusted URL, then fill in the fields below and click Save:
| Field | Value |
|---|---|
| API Name | A name without spaces or special characters, e.g. companyname_Sharepoint |
| URL | https://yourdomain.sharepoint.com (your own SharePoint domain) |
| Active | Checked |
| CSP Context | All |
| connect-src (scripts) | Checked |
| font-src (fonts) | Checked |
| frame-src (iframe content) | Checked |
| img-src (images) | Checked |
| media-src (audio & video) | Checked |
| style-src (stylesheets) | Checked |
💡 Tip: your SharePoint domain is the URL you use to open SharePoint, e.g. https://resolveit.sharepoint.com.
Lightning page configuration
Add the SharePoint component to your object pages.
- 1
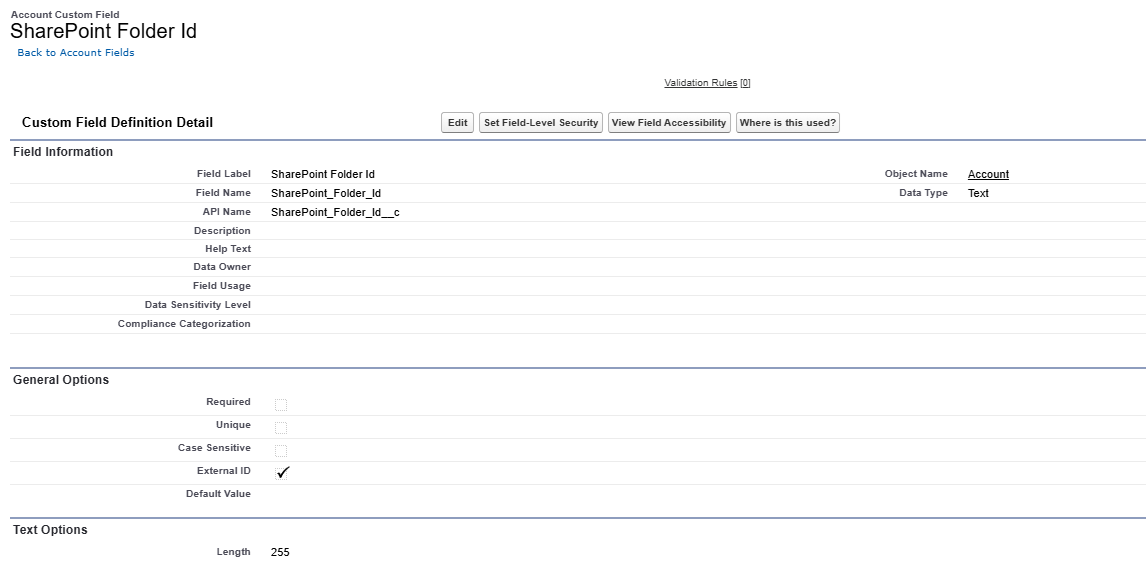
Create two text fields per object
On every object you want to link with SharePoint, create two text fields: one to store the SharePoint Folder ID and one to store the Pinned Folder ID.
- 2
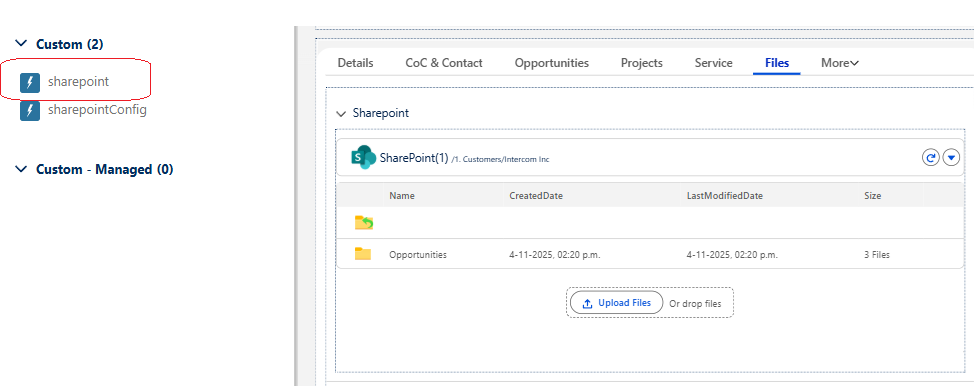
Add the component to the Lightning page
Open the Lightning App Builder and drag & drop the SharePoint component onto any Lightning page.
- 3
Configure the component
Settings can differ per object. Fill in:
- API name of the field that stores the SharePoint Folder ID.
- API name of the field that stores the Pinned Folder ID.
- API name of the Object the component works for.
- (Optional) API name of the Parent Object, only if you want to relate the record to another object in the folder tree.
- (Optional) API name of the field where the SharePoint ID is stored on the Parent Object.
- API name of the field that defines the folder name on SharePoint (default = Record Name).
- (Optional) A maximum height for the Lightning component.
- Select which SharePoint Site to connect: the one you created in the Salesforce Setup steps.
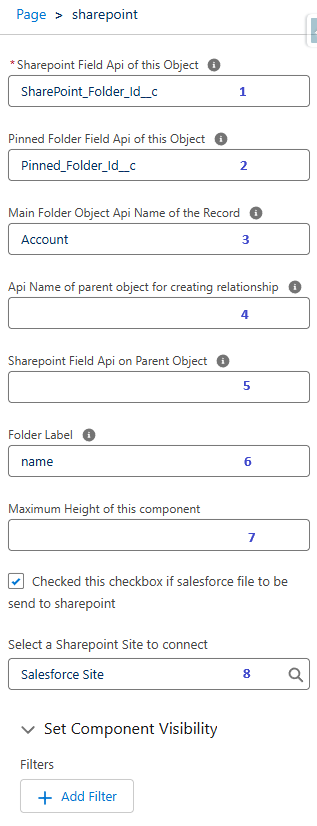
The Salesforce Files checkbox: when enabled, files created as Salesforce Files by (external) users or apps are automatically copied to SharePoint as well.
- 4
Save & activate
Save and activate the Lightning page. SalesPoint is now live on that object.
Need a hand?
Our consultants are happy to help with the setup or a guided onboarding.